Everything the tutorial teaches and everything it doesn't. Ten minutes to read. Written for version 1.0, iPad and Mac.
Jump to: Basics · Building · Getting around · Facades · Money and stars · Air rights and the greening grant · Underground · Sites and tips
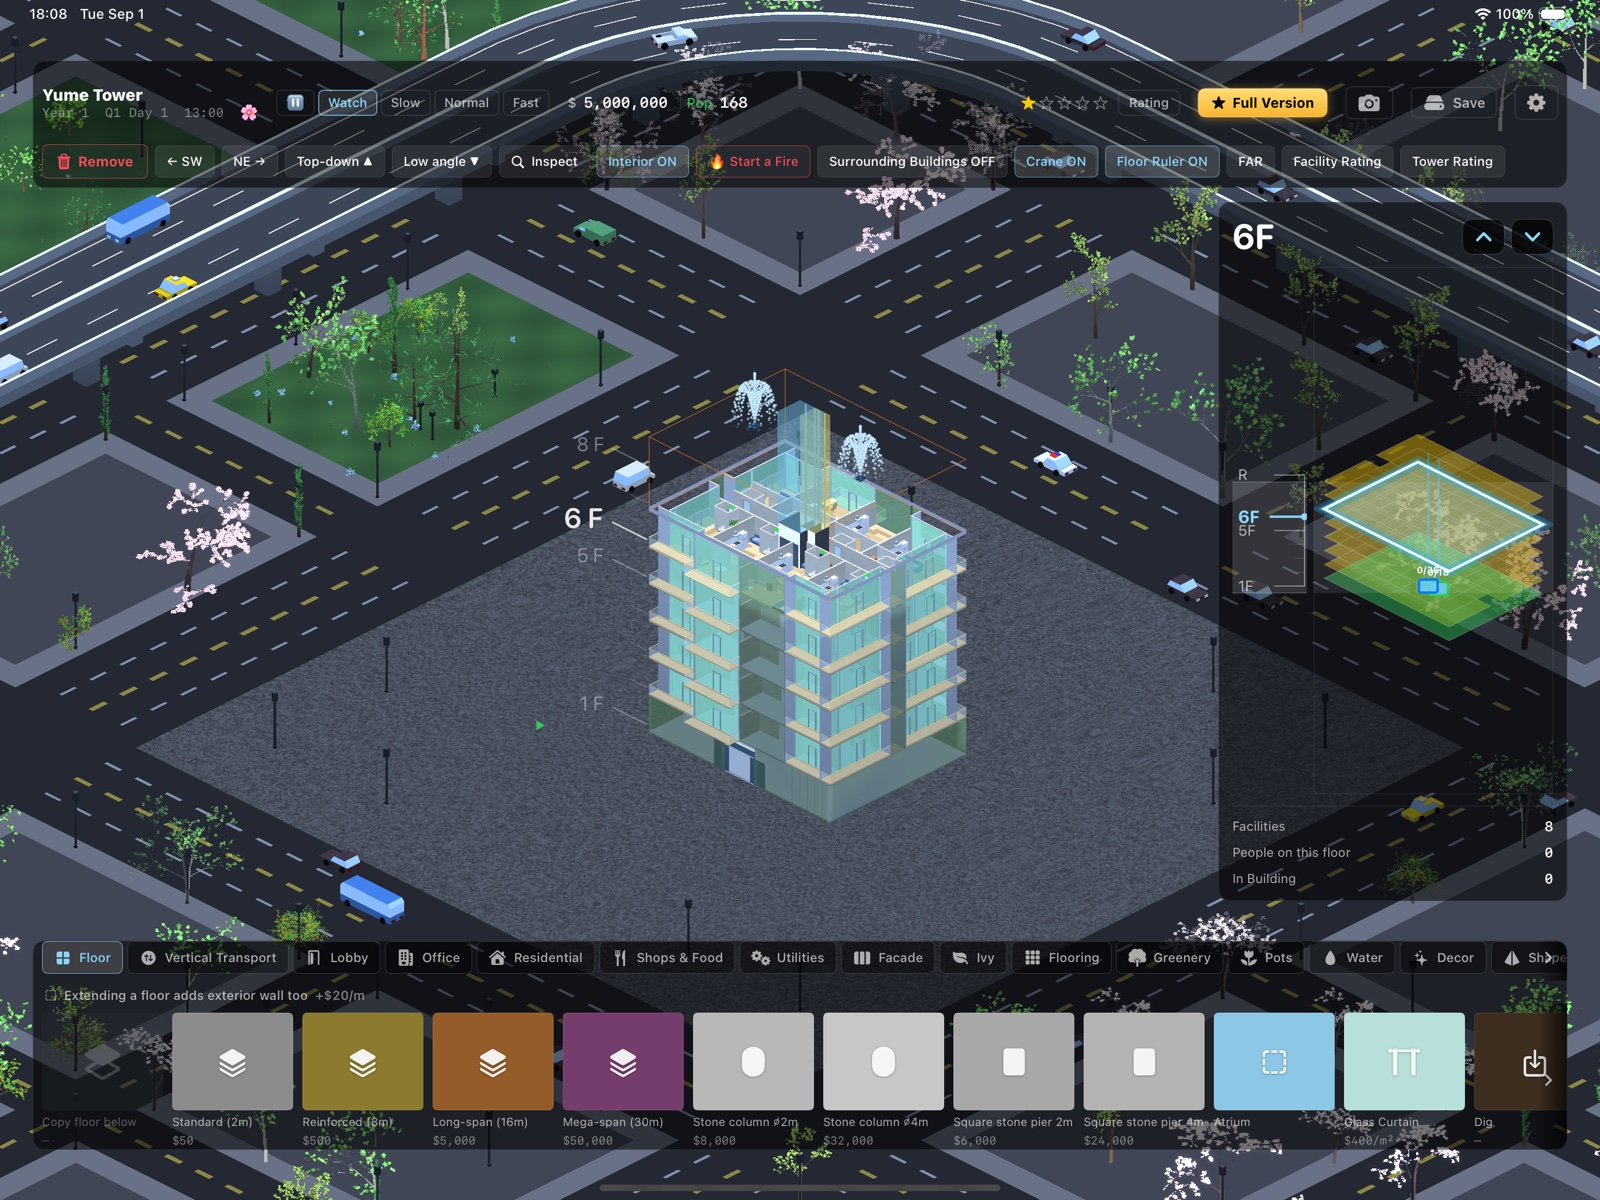
The work floor is the heart of the controls. The panel on the right (and the ruler beside the tower) shows which floor is open; everything above it is cut away so you can see inside. Change it with the up and down buttons, or tap a floor number on the ruler. Two fingers rotate the view in 90 degree steps (or use the SW and NE buttons), and Top-down / Low angle change the camera pitch.
The top bar shows the clock (Year, Quarter, Day, time), your balance, and the population. Speed buttons: Watch runs in real time, Normal is about five minutes per day, Fast is about two. The flower button pauses.
Interior ON shows the rooms inside the cut; turn it off for a solid building. Inspect turns taps into a survey tool: tap any room to see its tenants, rating and rent, or tap a person to see where they are going.
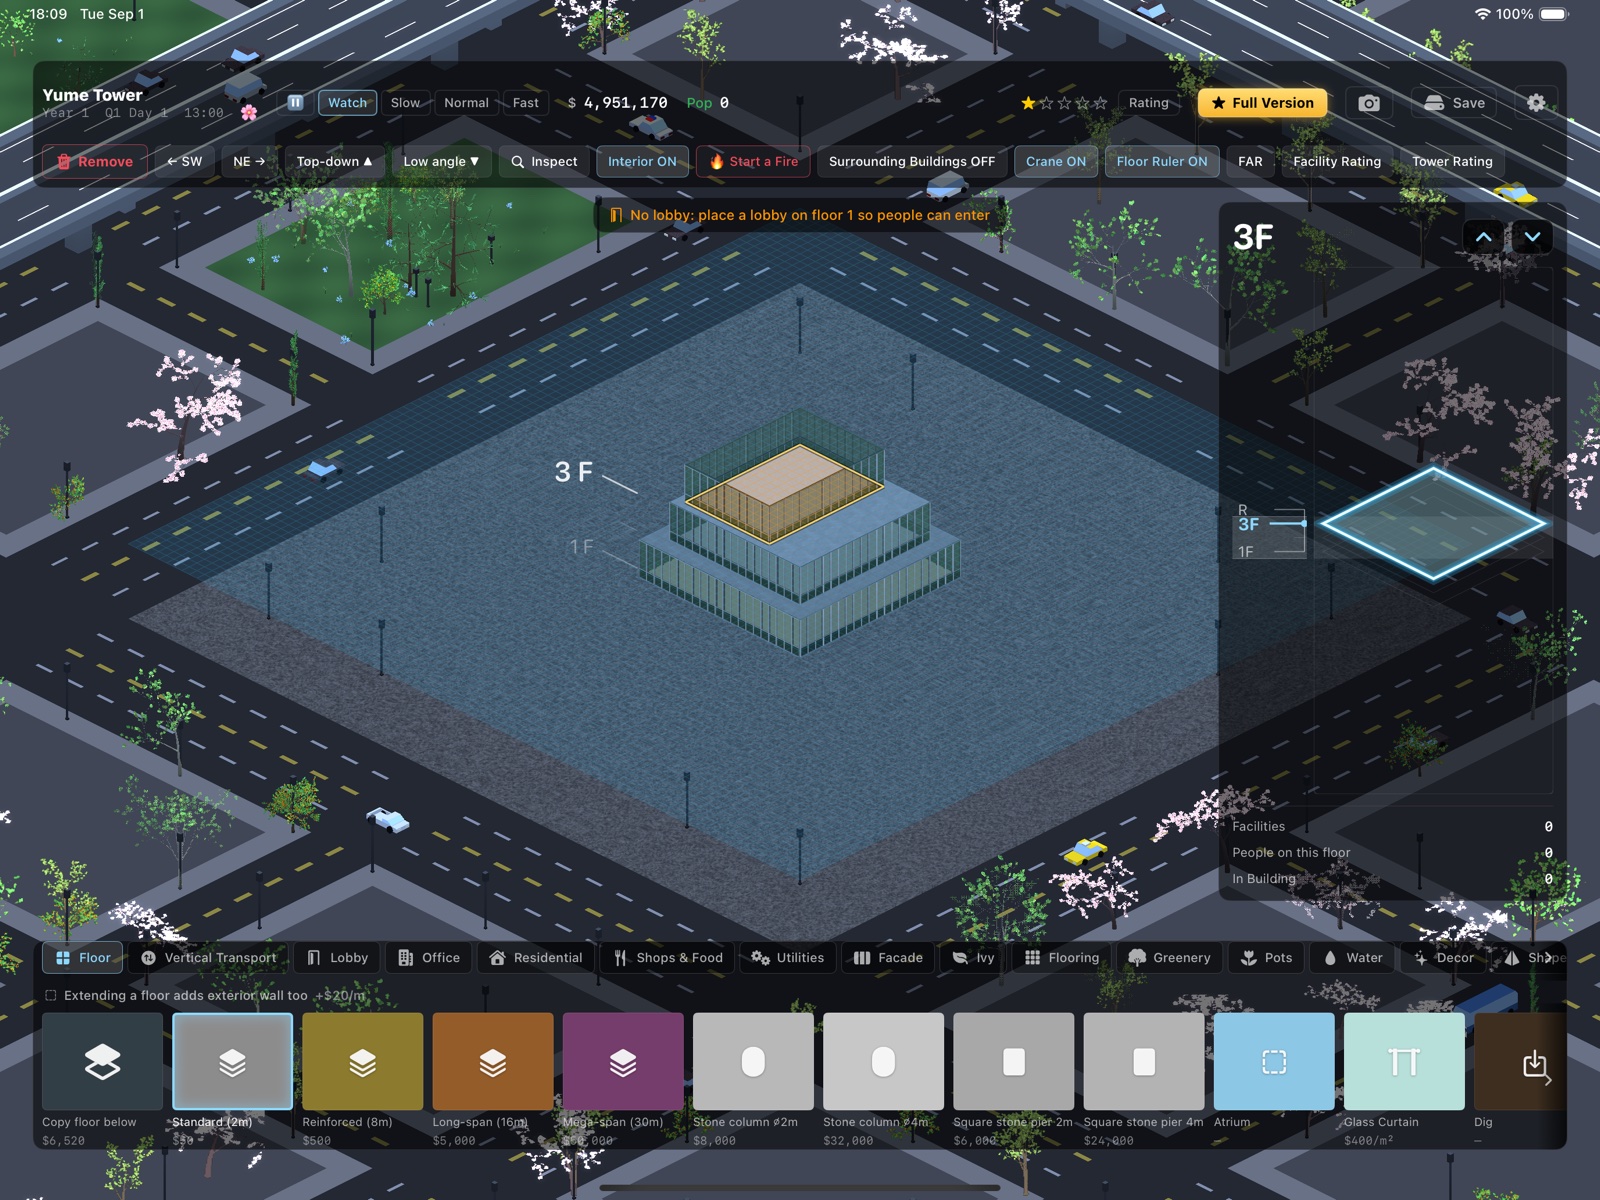
Order of operations: floor first, rooms second. Pick a floor type from the Floor tab and drag a rectangle. Then pick a facility (Office, Residential, Shops & Food...) and drag it onto the plate. Corridors grow automatically around rooms so people can reach their doors, and extending a floor adds exterior wall at a small cost per metre.
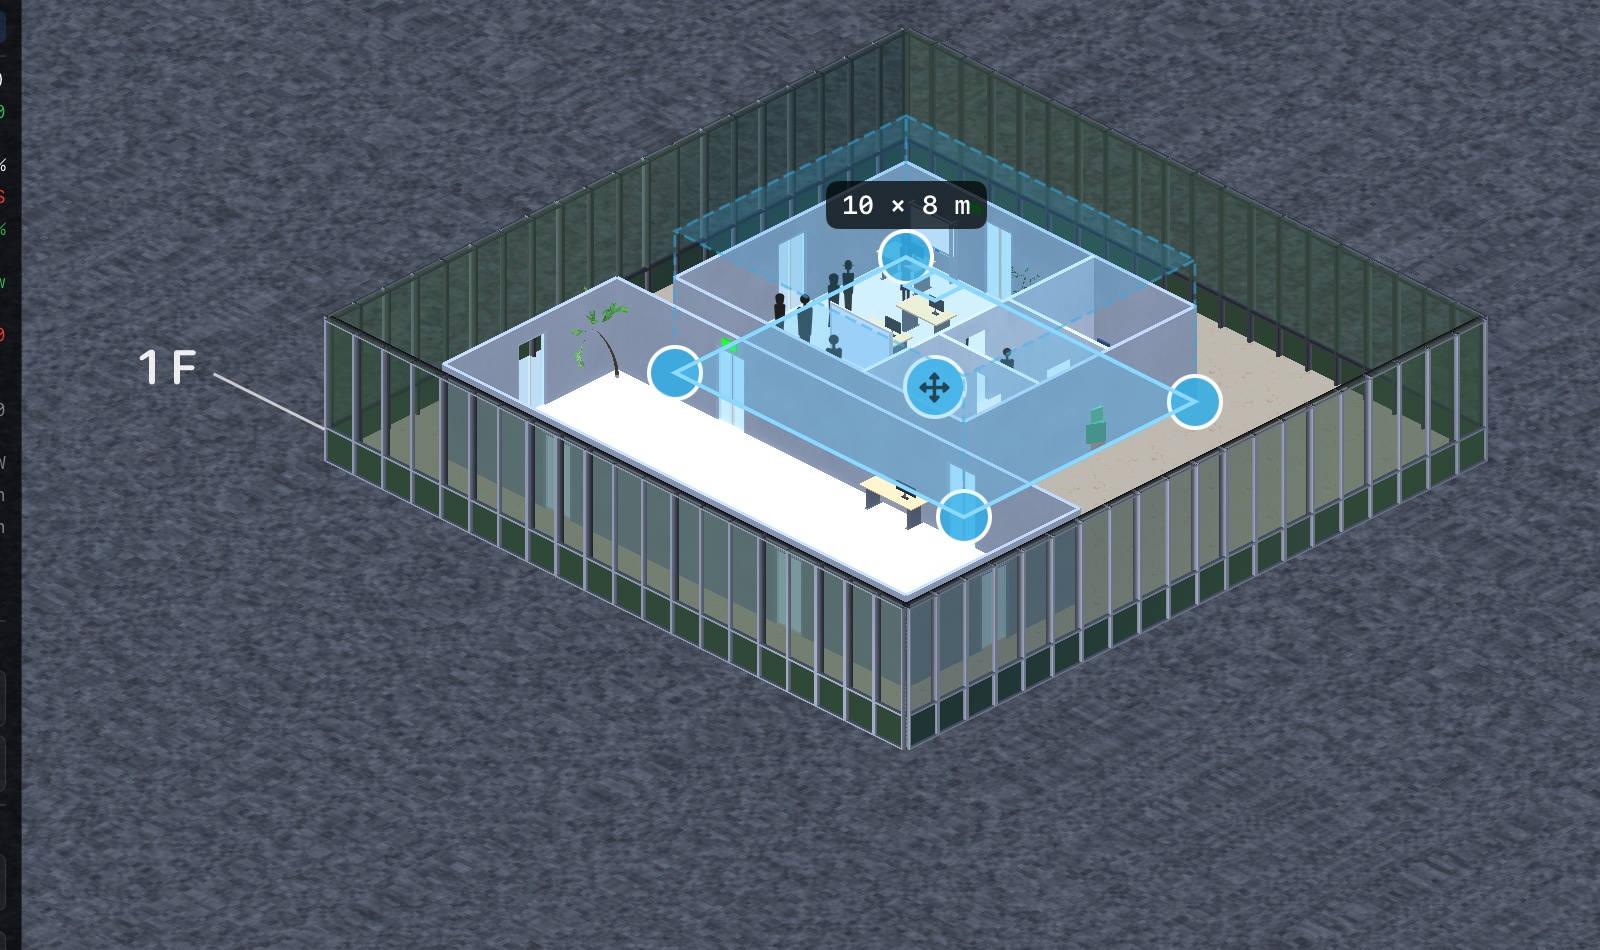
There is no undo in this game. Instead, almost everything can be fixed after the fact: tap a room and drag its corner handles to resize (growing costs the difference), or drag the cross to move it. Moving and shrinking on the same floor are free. Elevators, stairs and even subway stations can be moved the same way. The Remove tool (top left) demolishes; it also puts away whatever tool you were holding, so it is always safe to reach for.
Big commitments like the recycling center, the stock exchange or a station cost real money and are not refunded when removed. Place them like you mean it.
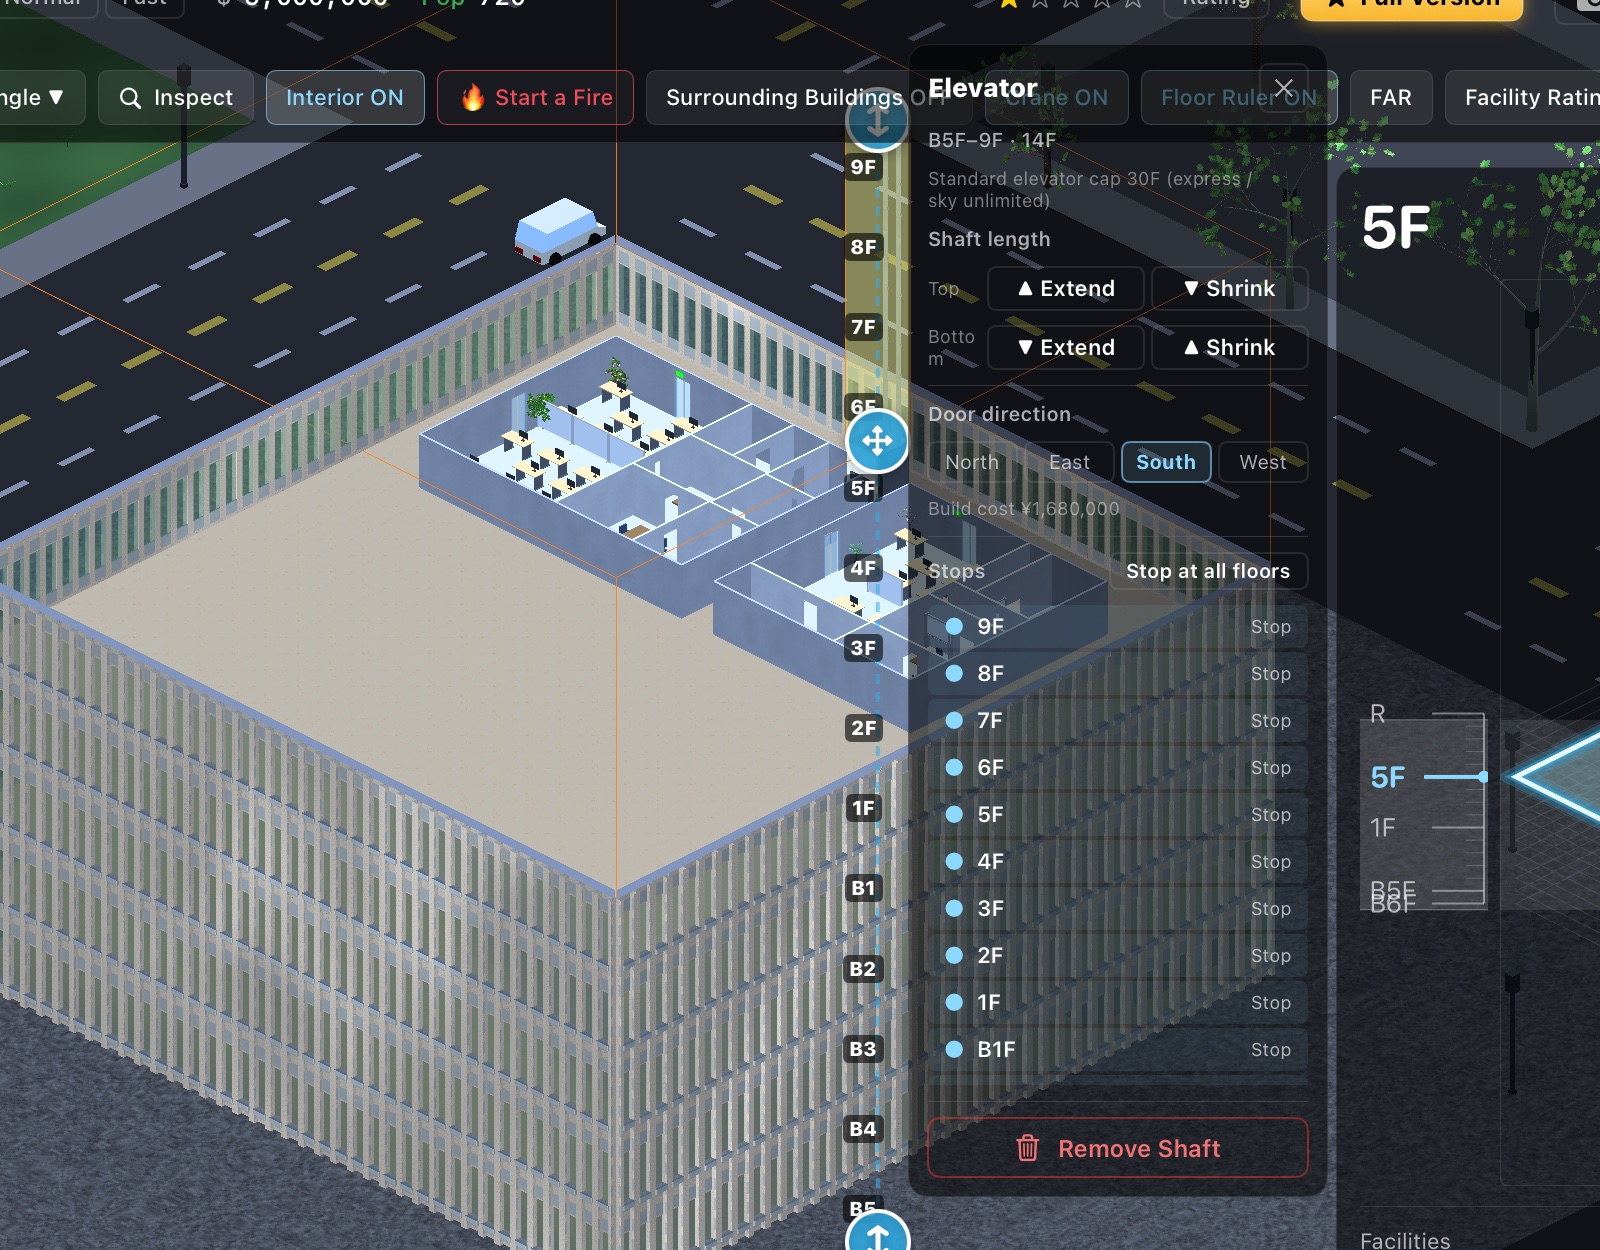
People walk along corridors and change floors by stairs, escalators and elevators (Vertical Transport tab). A standard elevator serves up to 30 floors; skip stops you don't need, because every stop slows the car. Express and freight elevators exist for tall towers and hotels. The arrows on a selected shaft extend or shrink it; the cross moves the whole shaft for free.
A fire escape that runs the full height of each wing is required to rank up from two stars onward. It is also genuinely used in fires.
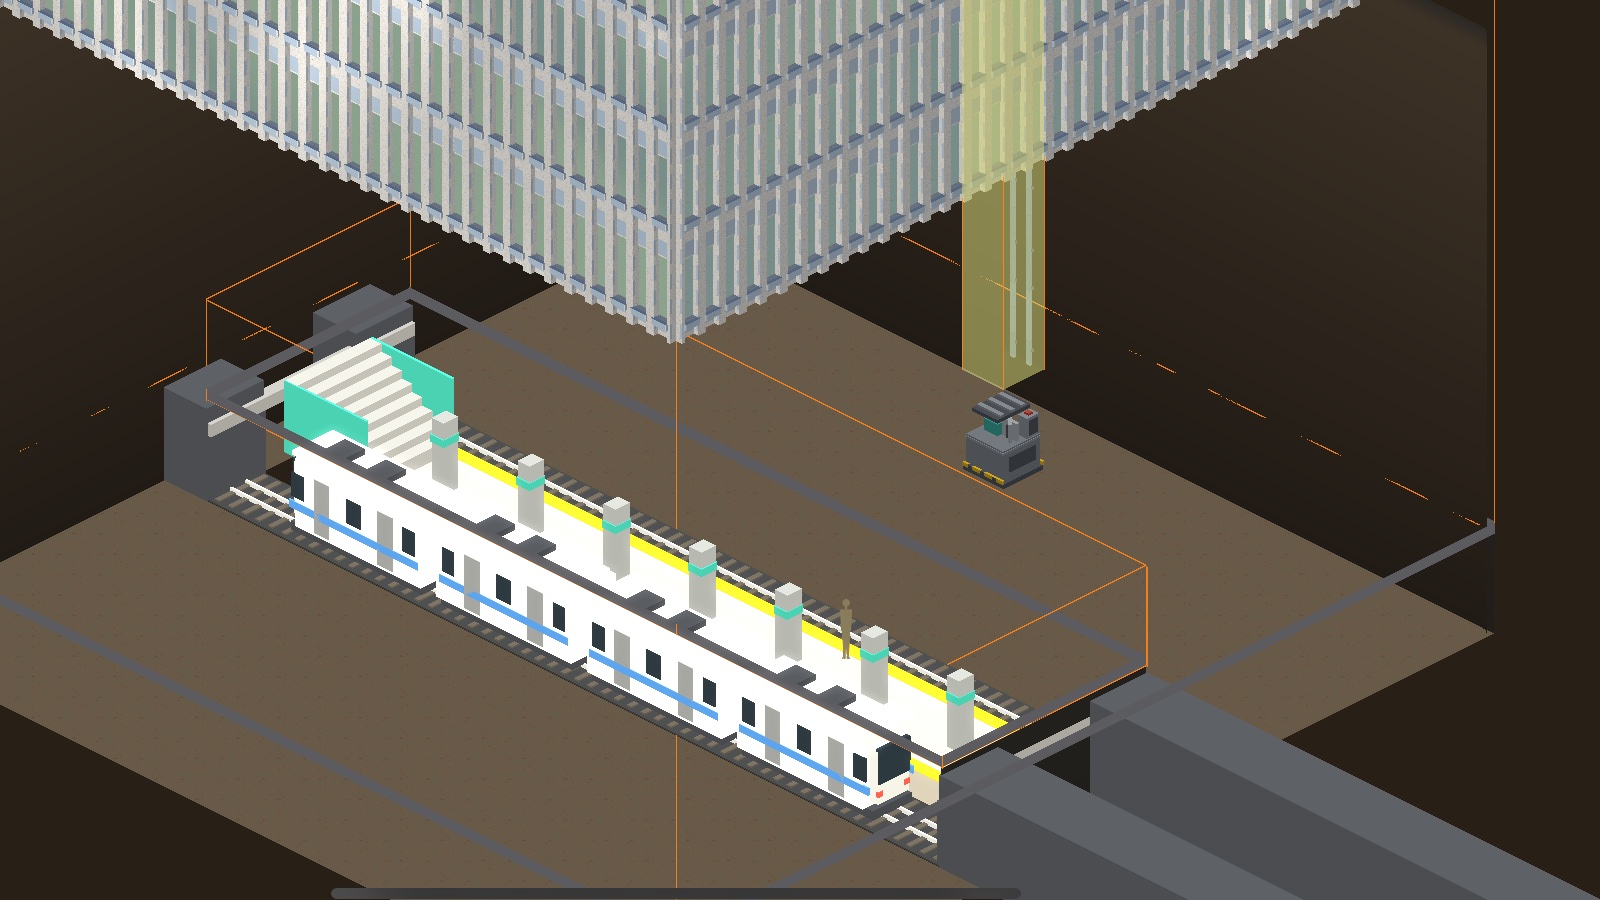
Stations (subway, monorail, ferry) are two-storey structures that pump visitors into the tower. Connect the concourse to the ground floor with an elevator or stairs, or nobody can leave the station. They are expensive, but they are the single biggest population lever in the game.
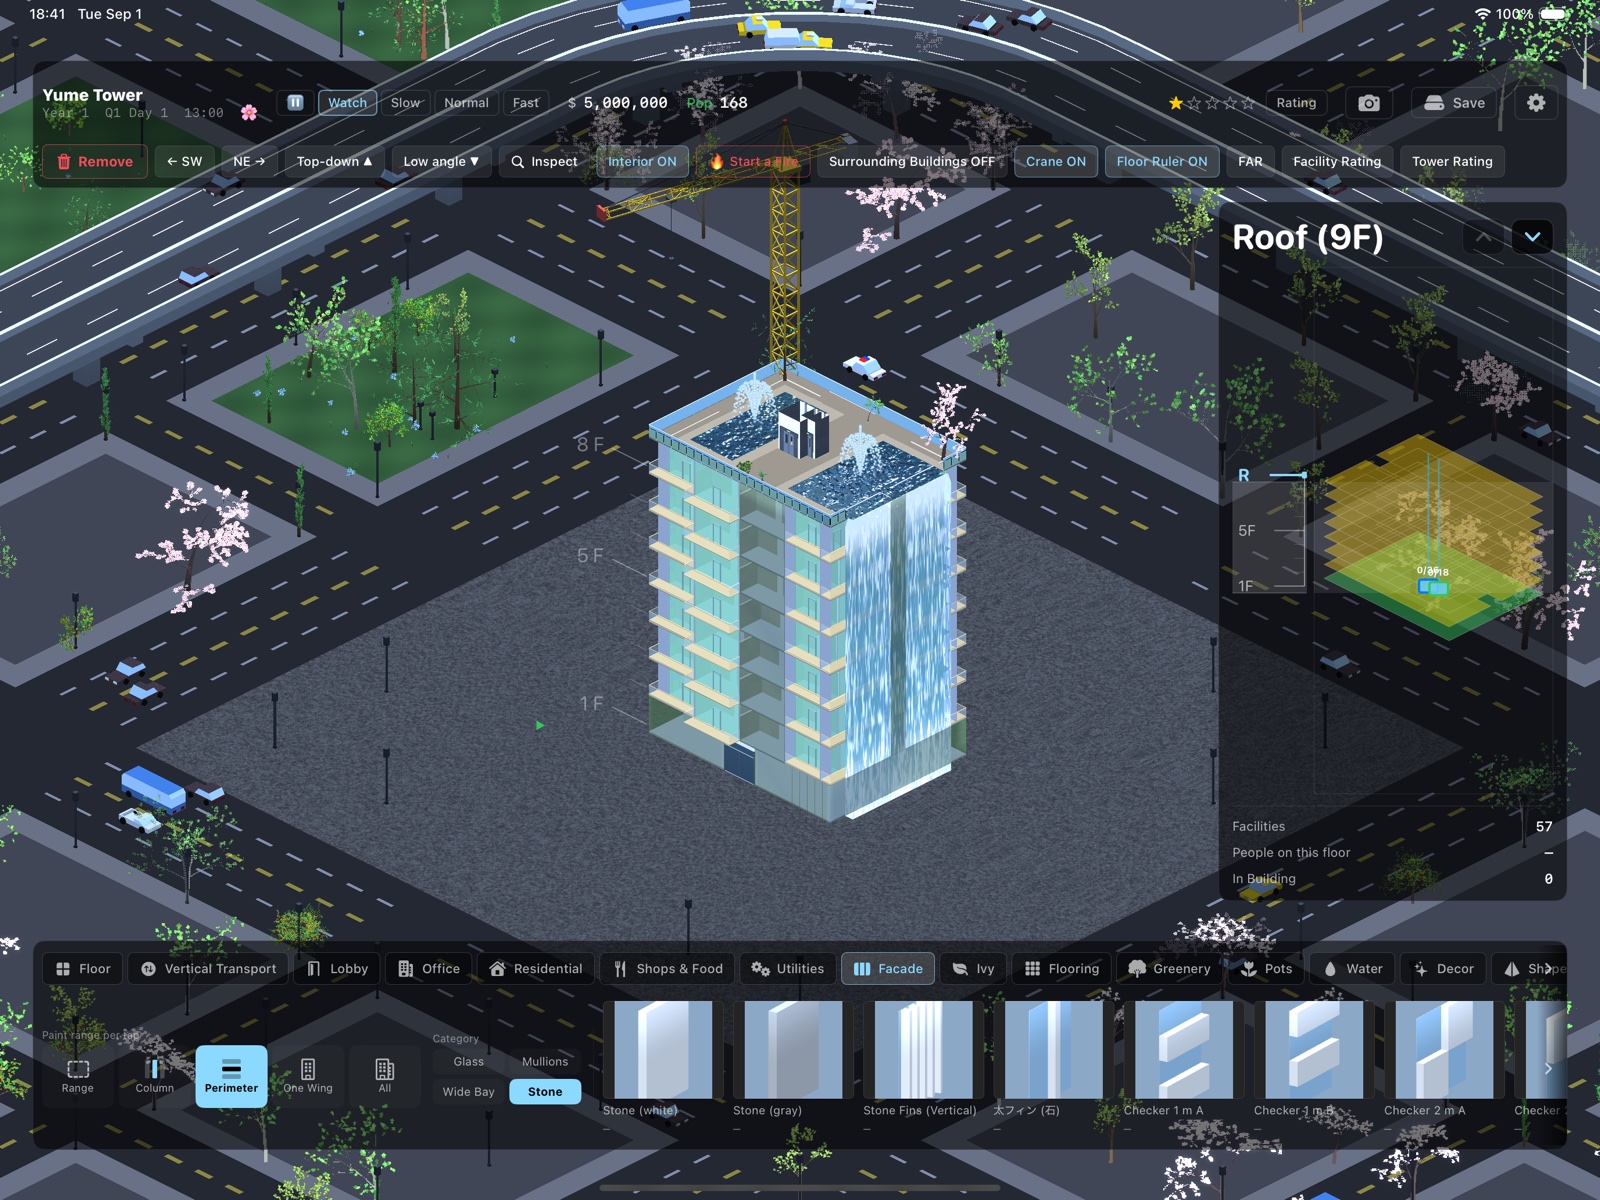
The Facade tab paints the exterior. Pick a tile, then pick a scope: the whole tower, one wing, a perimeter, a column, or a dragged range. Painting the whole tower over a mixed paint job asks for confirmation first. Wings are detected automatically, and towers joined only by a skybridge count as separate wings.
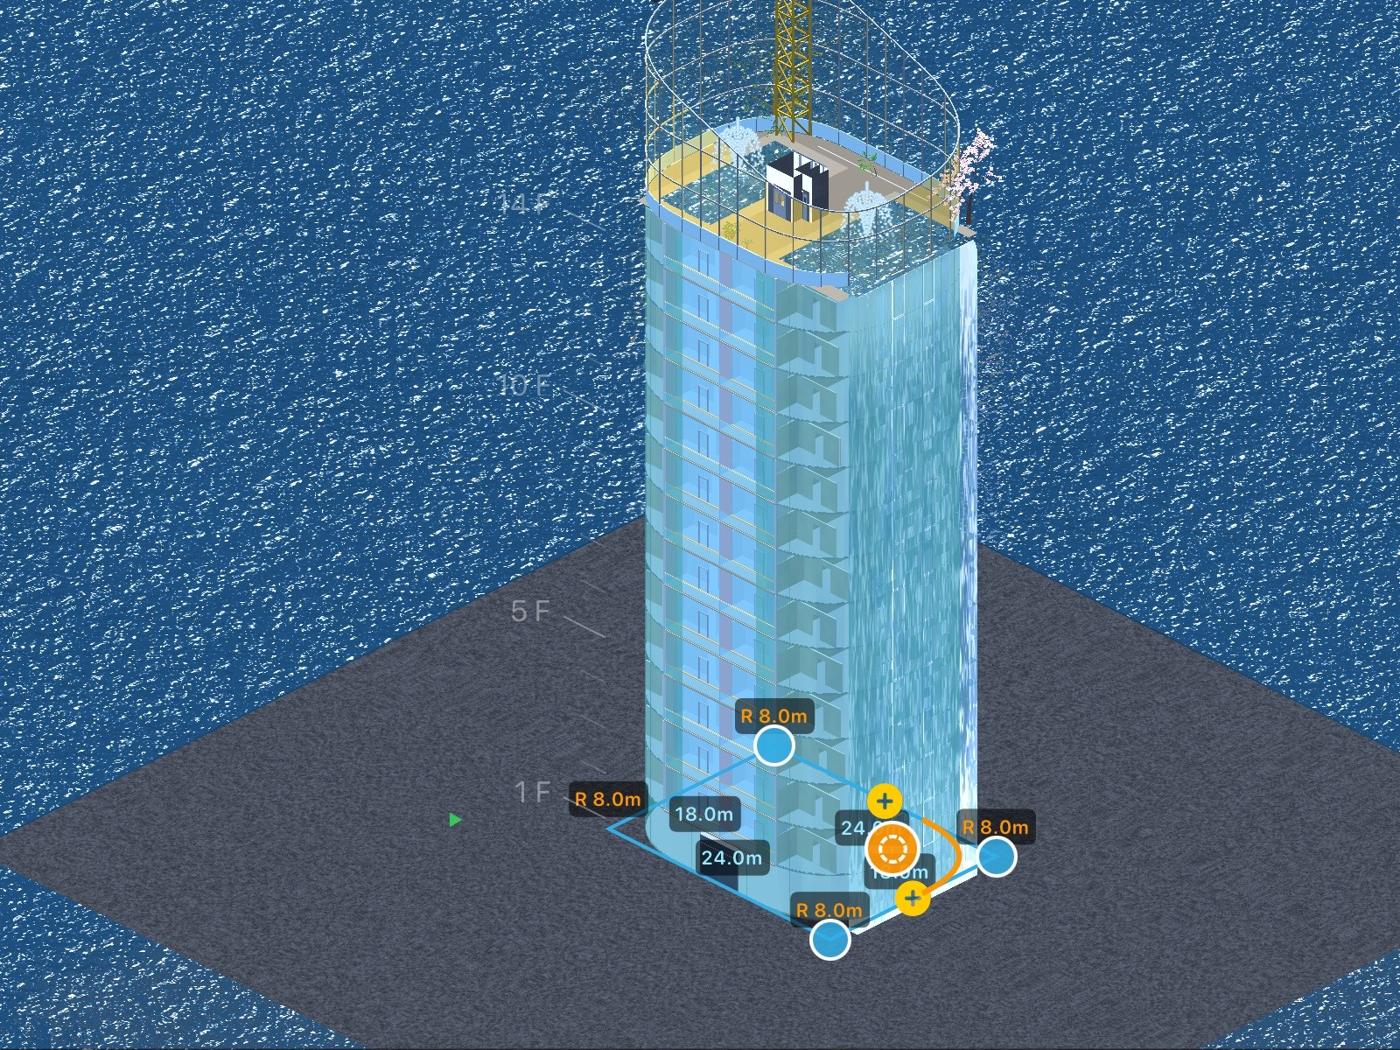
The Shape tab is the flagship toy: select a band of floors by tapping a wall, then round corners with the puck, taper the mass, or extrude. Rooms clipped by the new shell lose that floor area, and the light and the views change, which feeds straight into rent (see chapter 5). Glass Curtain draws free-form glass crowns over anything.
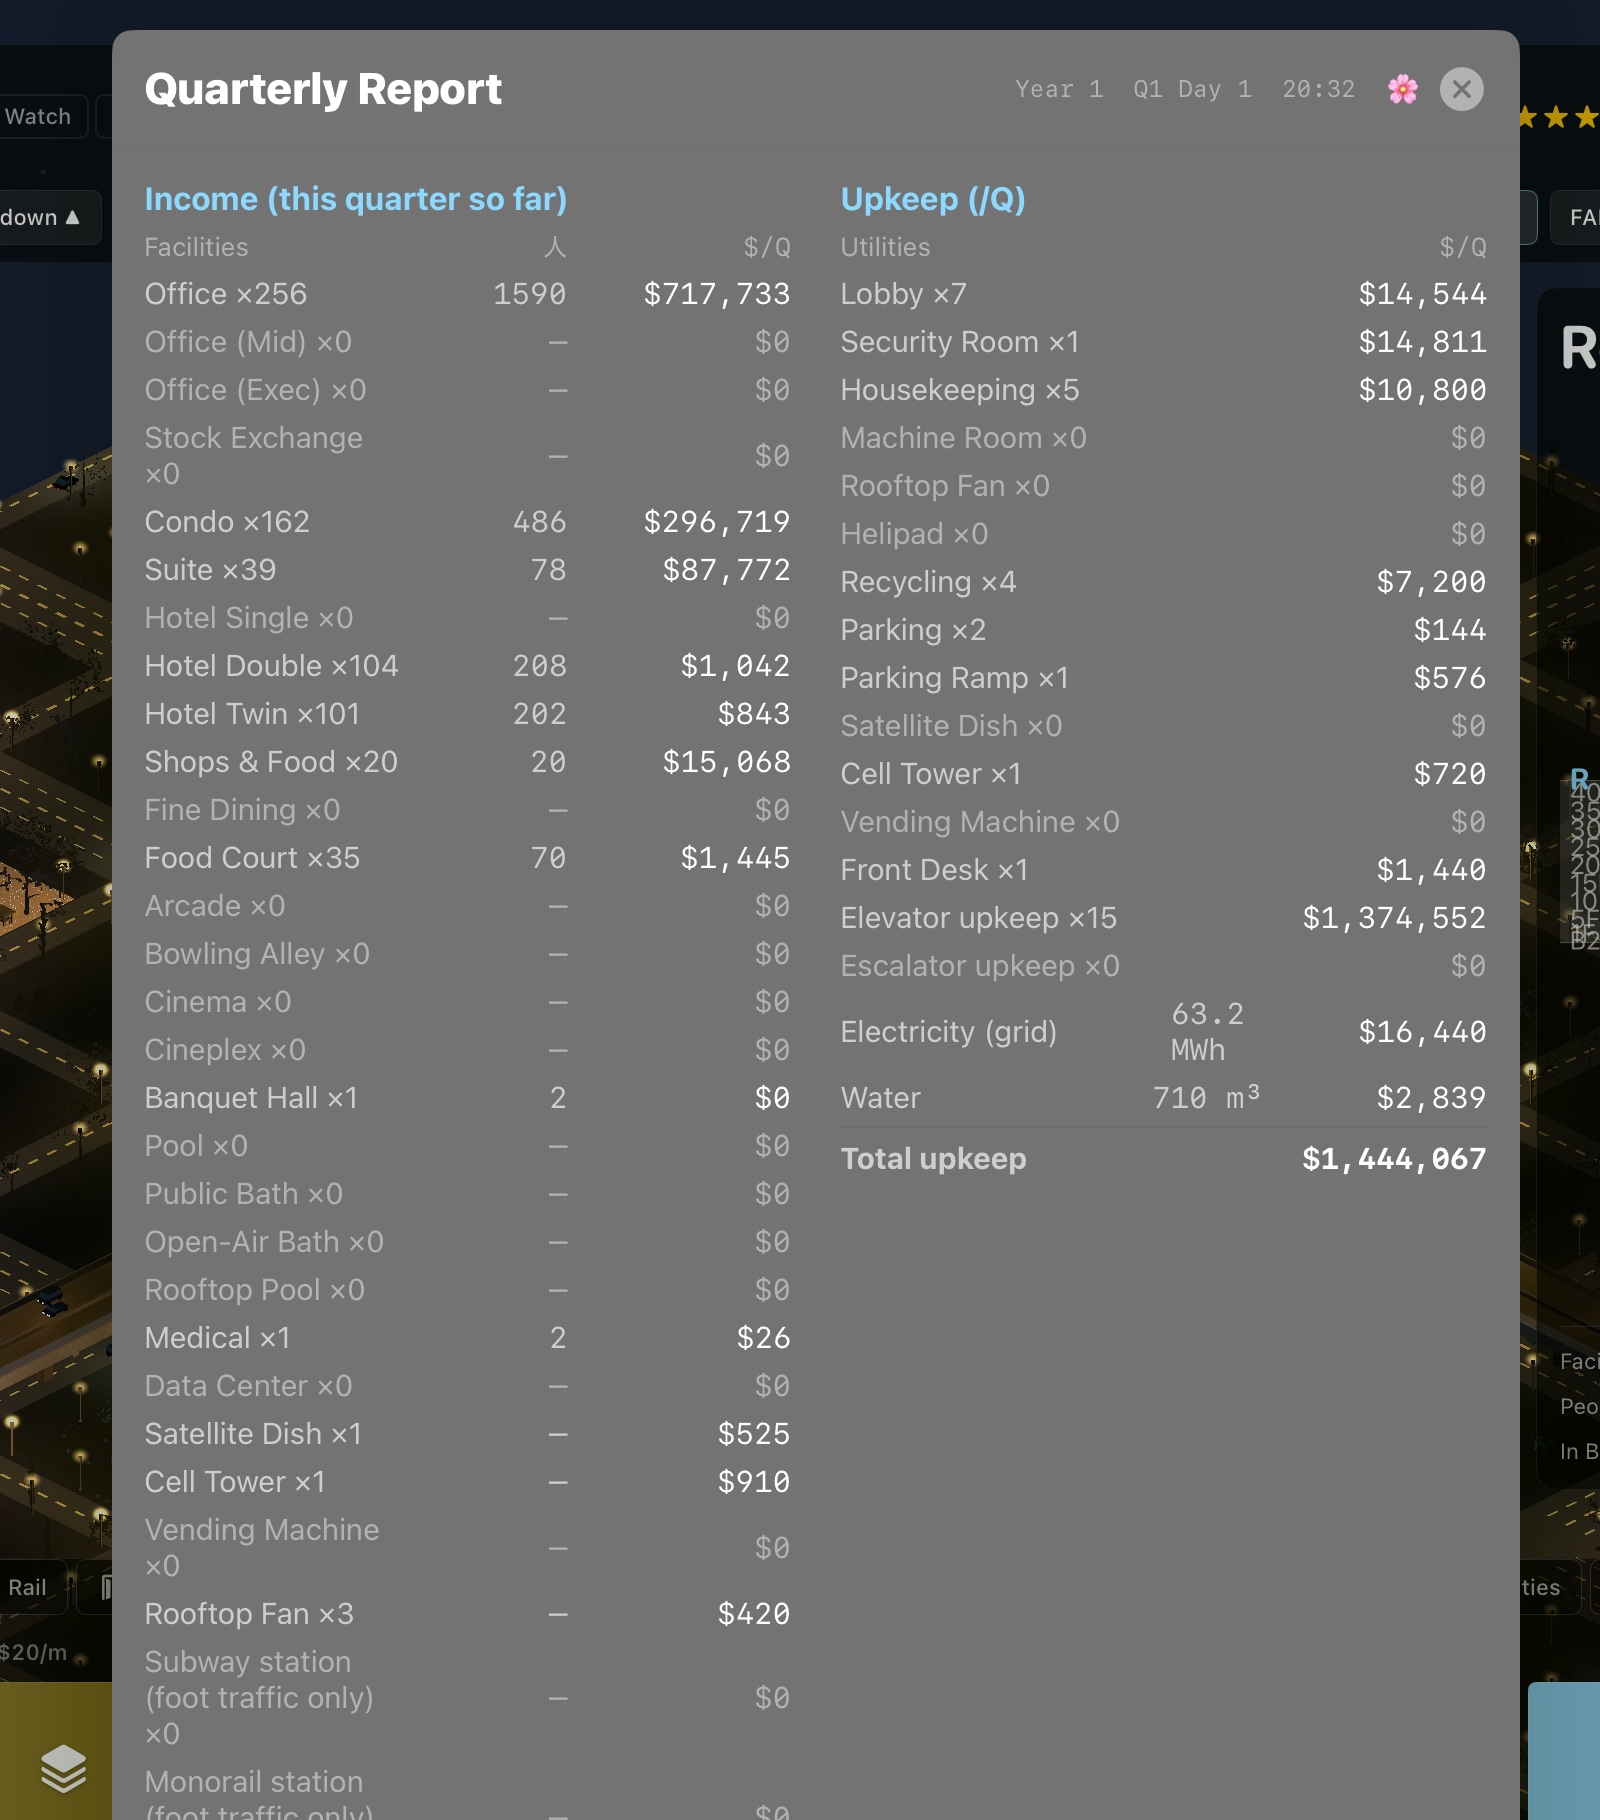
Rent accrues per quarter and lands at 05:00 on settlement day; daily takings from shops land every night at 22:00. Upkeep, elevator power and water are charged at the same time. The report explains every line, including the greening grant (chapter 6): outdoor planting and water earn you a quarterly payment from the city.
Rooms are rated by daylight and view. Daylight falls off with depth from a window; views are traced per window and are blocked by your own mass and by neighbouring buildings, and improved by parks, water and the sea. A corner office above the neighbouring skyline earns real money. Deep, windowless space does not.
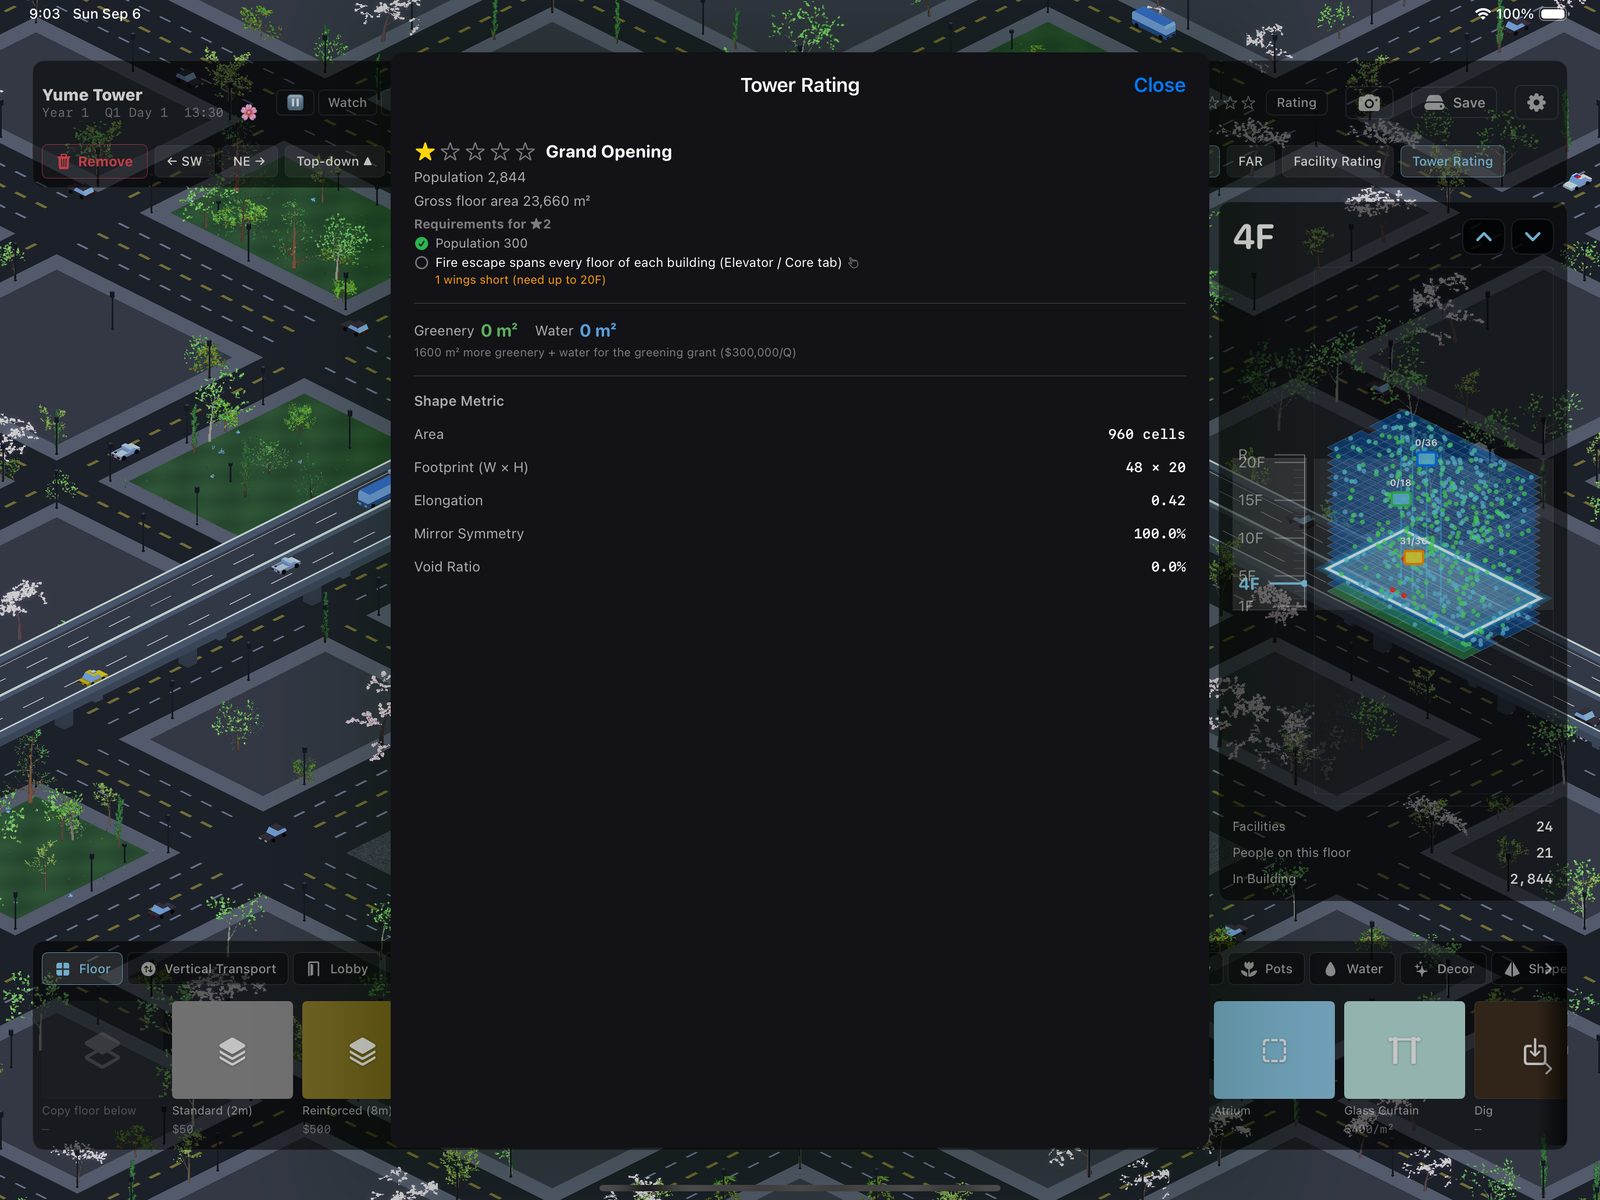
Stars are population ranks (300, 1000, 5000, 10000) with gates: every promotion needs full-height fire escapes, four stars needs security screening below your offices plus a medical center, and your recycling has to keep up with the garbage. Height is a separate limit: in the city, floors above 10F need air rights (FAR), explained next.
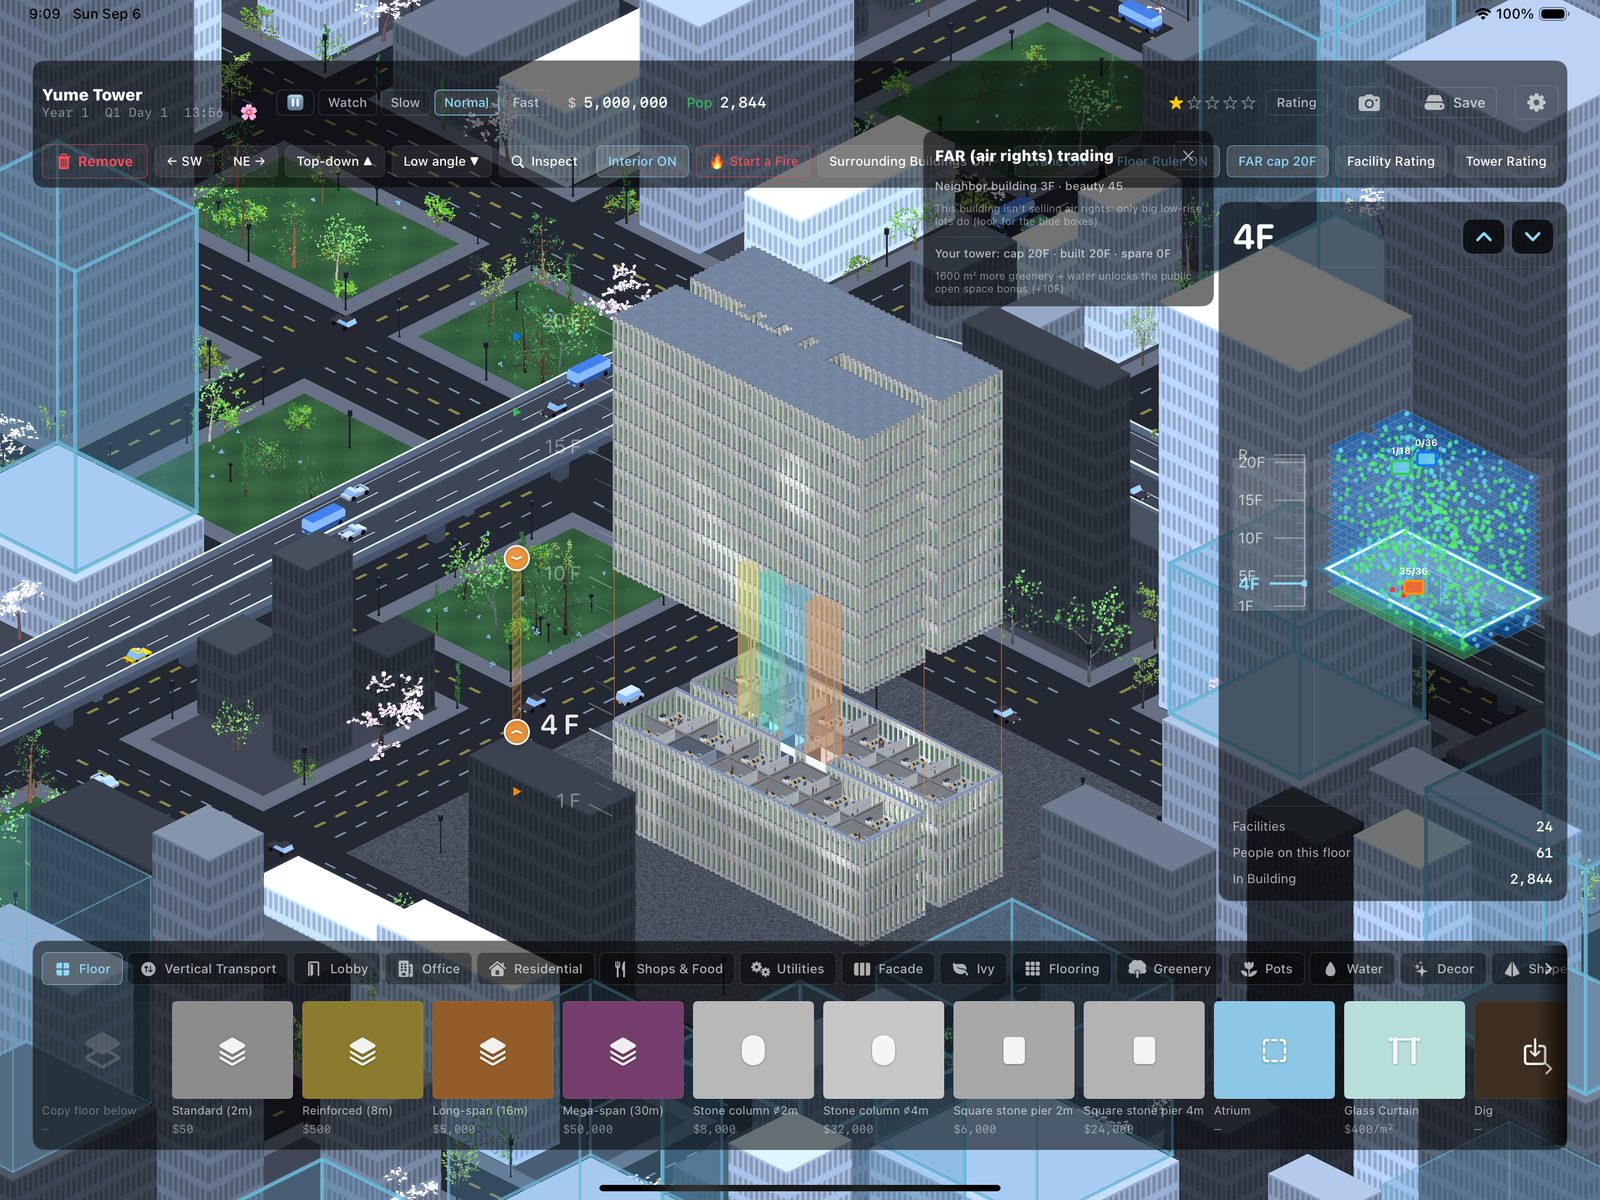
A city plot starts with a height allowance of 10 floors. To go higher you buy air rights (transferable floor area, or FAR) from the low buildings around you: tap FAR in the top bar, then tap a neighbour with a blue box. Only big, low buildings sell, and each sells a chunk of 6 to 12 floors. The price climbs about 7.5 percent per floor the higher your cap already is, and a prettier or older building charges a preservation premium. A neighbour whose air rights you bought stays low forever, which also protects your views. The city allows 120 floors at most; you may still buy past that to preserve a building, you just can't build there.
The limit only stops new construction. A preset tower or an older save keeps whatever height it already has. The sea and the desert have no neighbours, so there is no market: the cap there is the plot itself (a smaller plot may build taller).
Public open space bonus. Greenery is the city's favourite kind of open space. Keep at least 1600 square metres of outdoor planting and water on your plot and the city lifts your buildable cap by 10 floors, on top of anything you bought. Remove the greenery and the bonus goes away, though floors already built stay. The FAR panel and the Tower Rating sheet both show how many square metres you still need.
The greening grant. The same greenery pays cash. Outdoor planting and water on the plaza, terraces and roofs count by canopy footprint: a tree is 9 square metres, a grape pergola 9, a hedge or a pot 1, and each water tile 1. Indoor plants, lobby ponds and garden zones do not count, only what you can see from outside. From 300 square metres the city starts paying, and the grant scales up to $300,000 a quarter at 1600 square metres, the same line that unlocks the open space bonus. On the desert site the grant is five times larger ($1,500,000 a quarter) because irrigating anything there is expensive, and the plants cost more to match.
The quarterly report shows the grant next to the outdoor greenery and water total it is based on, so the number is never a mystery. Trees and water also raise the rent of the rooms that look at them, so a green plaza pays three times: rent, grant and height.
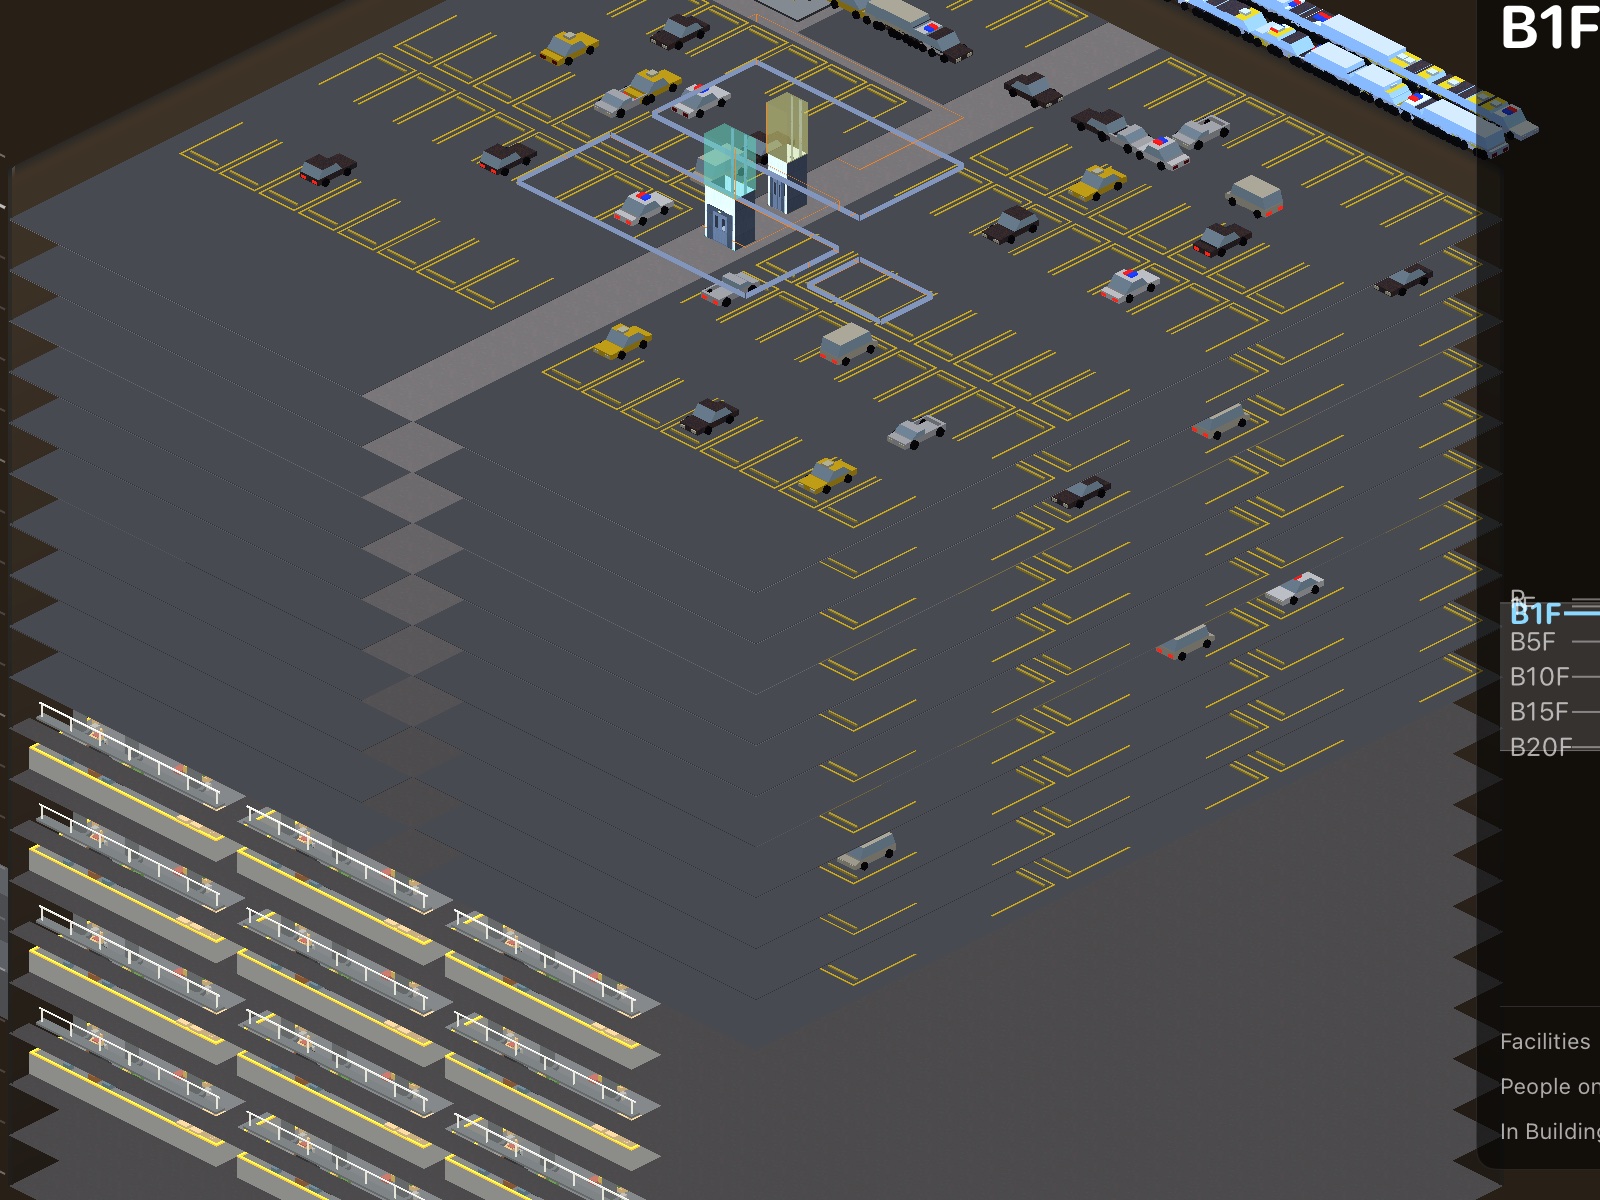
The Dig tool (rightmost on the Floor tab) creates basements. Parking floors only exist underground: dig, drag a Parking floor, then place the ramp on the ground floor and it spirals down on its own. Cars drive in through a portal in your facade. Deeper still, recycling halls handle your garbage, and subway platforms sit happily at any depth.
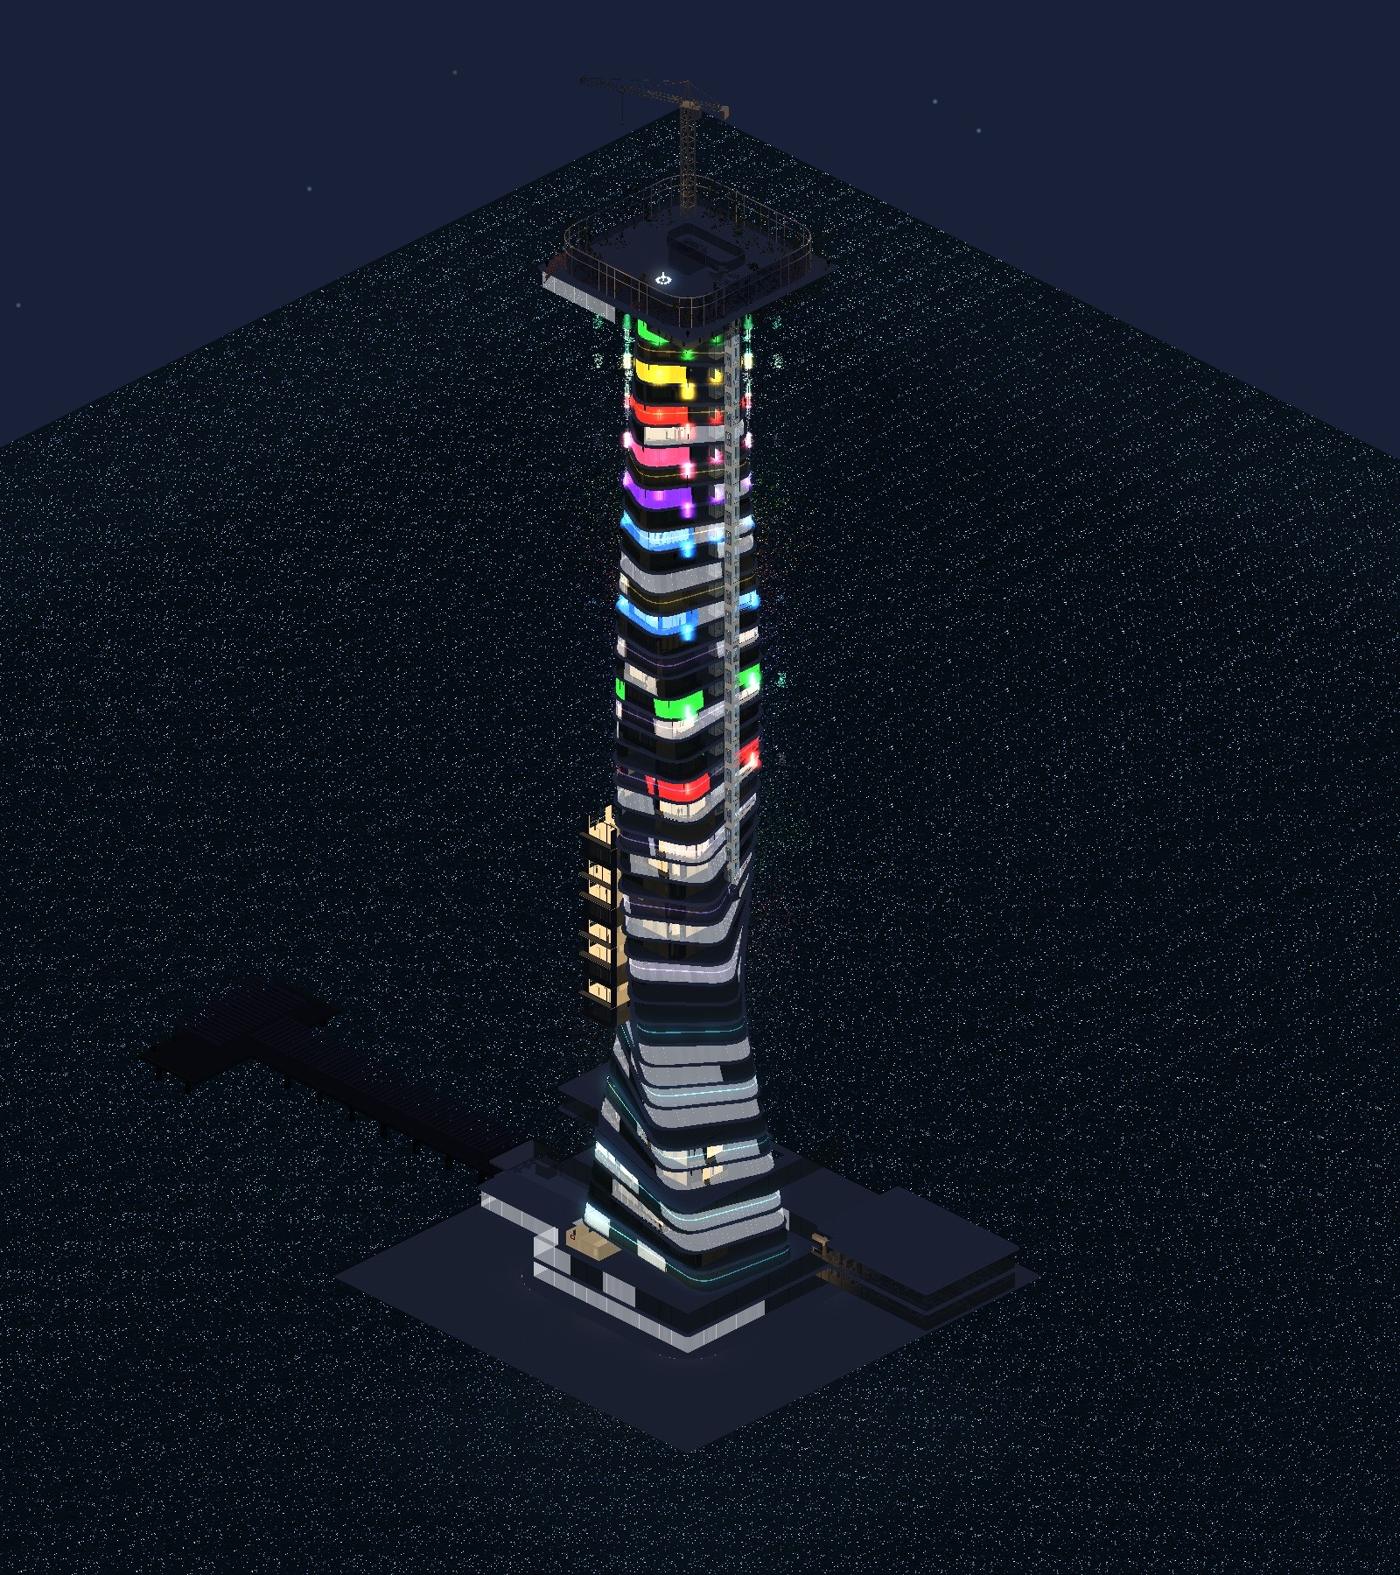
The city has neighbours, air rights and the subway. The sea has ferries, ocean views from every window, and desalination to run. The desert has cheap land, brutal daylight, and the clearest starry nights in the game. Scenario plots unlock with the full version (or with five stars).
Small things that help: